How to Add and Manage Users in Yoffix
Table of Contents
This guide shows admins how to bring employees into Yoffix, organize them into teams and positions, assign roles and privacy settings, and control access.
Before you start: Complete company settings first (company info, roles, booking rules, notifications) so you have roles, teams and positions ready to assign.
Key areas covered:
Adding employees (manual, bulk import, integrations)
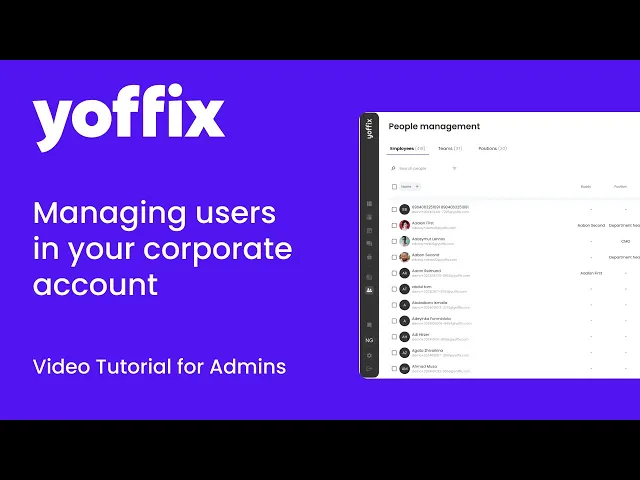
People Management (Employees/Teams/Positions)
Company-wide user settings (language, sync, privacy)
Inviting users and SSO setup
Common admin tasks (roles, deactivation, deletion)
Configure company-wide user settings
Before adding individual employees, set default behaviors for all new users in Settings → Users.
Default language for new employees
Choose the default interface language for new employees (e.g. English, German, French).
New users inherit this setting but can change it later in their profile.
Update employee data from User Sync integration
Enable this to automatically overwrite employee data in Yoffix with the latest information from your HRIS or directory integration (Personio, Azure AD, etc.).
When on: Integration data is the "Single Source of Truth" – manual changes in Yoffix get overwritten.
When off: You can edit employee data directly in Yoffix alongside integration sync.
Disable employee profile editing
Turn this on to prevent employees from editing their own profile information (name, team, position, etc.).
Useful in highly regulated environments or when all data must come from HR systems.
Available privacy settings for employees
Define which privacy options employees can choose from in their profile:
Whole organization
Only admins
Team lead and admins
Teammates, team lead and admins
Don't share my attendance data with anyone
Employees can then select their preferred privacy level within these options.
Configure roles and access rights
Roles define what different types of users are allowed to see and do in Yoffix.
This is about the permissions model, not about the job position of a specific employee.
Go to Company Settings → Roles.
To create a new role, click Add new role in the top right corner.
Give the role a clear name and a description, such as:
“Employee” – standard users who book desks, rooms and parking.
“Team Lead” – users who manage bookings and attendance for their team.
“Office Manager” – users who manage offices, desks, rooms and resources.
For each role, configure the allowed actions, for example:
Booking – create, edit, delete.
Employee – view, create, edit, delete.
When done click Confirm.
Repeat this for each role you need. Keep the number of roles manageable and aligned with your internal responsibilities.
Add employees to Yoffix
Go to People Management → Employees and choose your preferred method:
Method 1: Add individually
Click Add employee.
Enter: first name, last name, email, team(s), position, role.
Optionally assign an Attribute (e.g. First Aid). Learn more about Employee Attributes.
Optionally assign a Buddy (shows at top of their calendar for onboarding help).
Choose: Invite immediately or Add without access (invite later).
Click Save.
Method 2: Bulk upload
Click Upload employees.
Download the template file to see required English column names and order.
Fill in your employee data (name, email, team, position, role).
Upload the file. Incorrect formatting blocks import – double-check columns.
Review imported users and invite as needed.
Method 3: HR/directory integration (recommended for 50+ users)
Go to Settings → Integrations → User Sync.
Connect Personio, Azure AD, Workday, etc. following integration instructions.
Enable Update employee data from User Sync (see section 2).
Users, teams and positions sync automatically on schedule.
Assign roles manually after sync (or map via integration if supported).
Tip: Start with integration for scale, use manual methods to fill gaps.
Invite or Delete Users
You can select one or multiple users and:
Send invitations
Delete users
Note: Admin accounts cannot be deleted directly.
To remove an admin, first change their role to User.
Important information
In some cases, our domain might get flagged as undesirable on your organization's server. This will prevent invites and other important messages from Yoffix from reaching employees, causing login issues and slowing down the onboarding process.
To avoid this, please get in touch with your organization's IT and ask them to add us to the secure URL list. If you have any questions about this or need any help, please get in touch with us at support@yoffix.com.
Create Teams and Positions
Admins can define:
Teams
Positions
Team leads
Attendance rules
Team office days
You can specify how many days per week a team should be on site and on which days.
Integration as Single Source of Truth
If you use HR or directory integrations, you can enable the Single Source of Truth setting.
When enabled:
Employee data in Yoffix will be overwritten by synchronized data.
If you want to manually edit teams, roles, or positions in Yoffix, keep this setting disabled.
With these features, administrators can efficiently manage employee access, roles, teams, and synchronization settings in Yoffix.
Assign roles, teams and positions to users
Go to Employees tab.
Click any employee name to edit.
Update:
Role – Select from predefined roles (e.g. Employee, Team Lead) created in Settings → Roles
Team(s) – Assign one or multiple teams from Teams tab
Position – Select from Positions tab
Privacy – Set individual privacy overriding company default
Save changes.
Bulk actions: Select multiple users with checkboxes, then assign roles/teams in bulk.
Cross-functional users: Assign one person to multiple teams (e.g. Product Manager in both Product + Marketing).
This tutorial explains how administrators can add, invite, manage, and synchronize employees in Yoffix.