Table of Contents
This article explains how admins configure company‑level settings in Yoffix.
User‑specific actions (adding employees, assigning roles to people, teams, positions, invitations) are covered in a separate “Add and Manage Users” article.
Company settings include:
Basic company information and branding
Roles and access rights
Booking and attendance rules
Notifications for bookings and office attendance
Register your company account
Go to the Yoffix sign‑up page.
Enter your corporate email address, fill out and submit the form.
Open the verification email from Yoffix and click the confirmation link.
Log in for the first time and fill in your profile and company details.
After this, your corporate account is created and you are the account owner with admin rights.
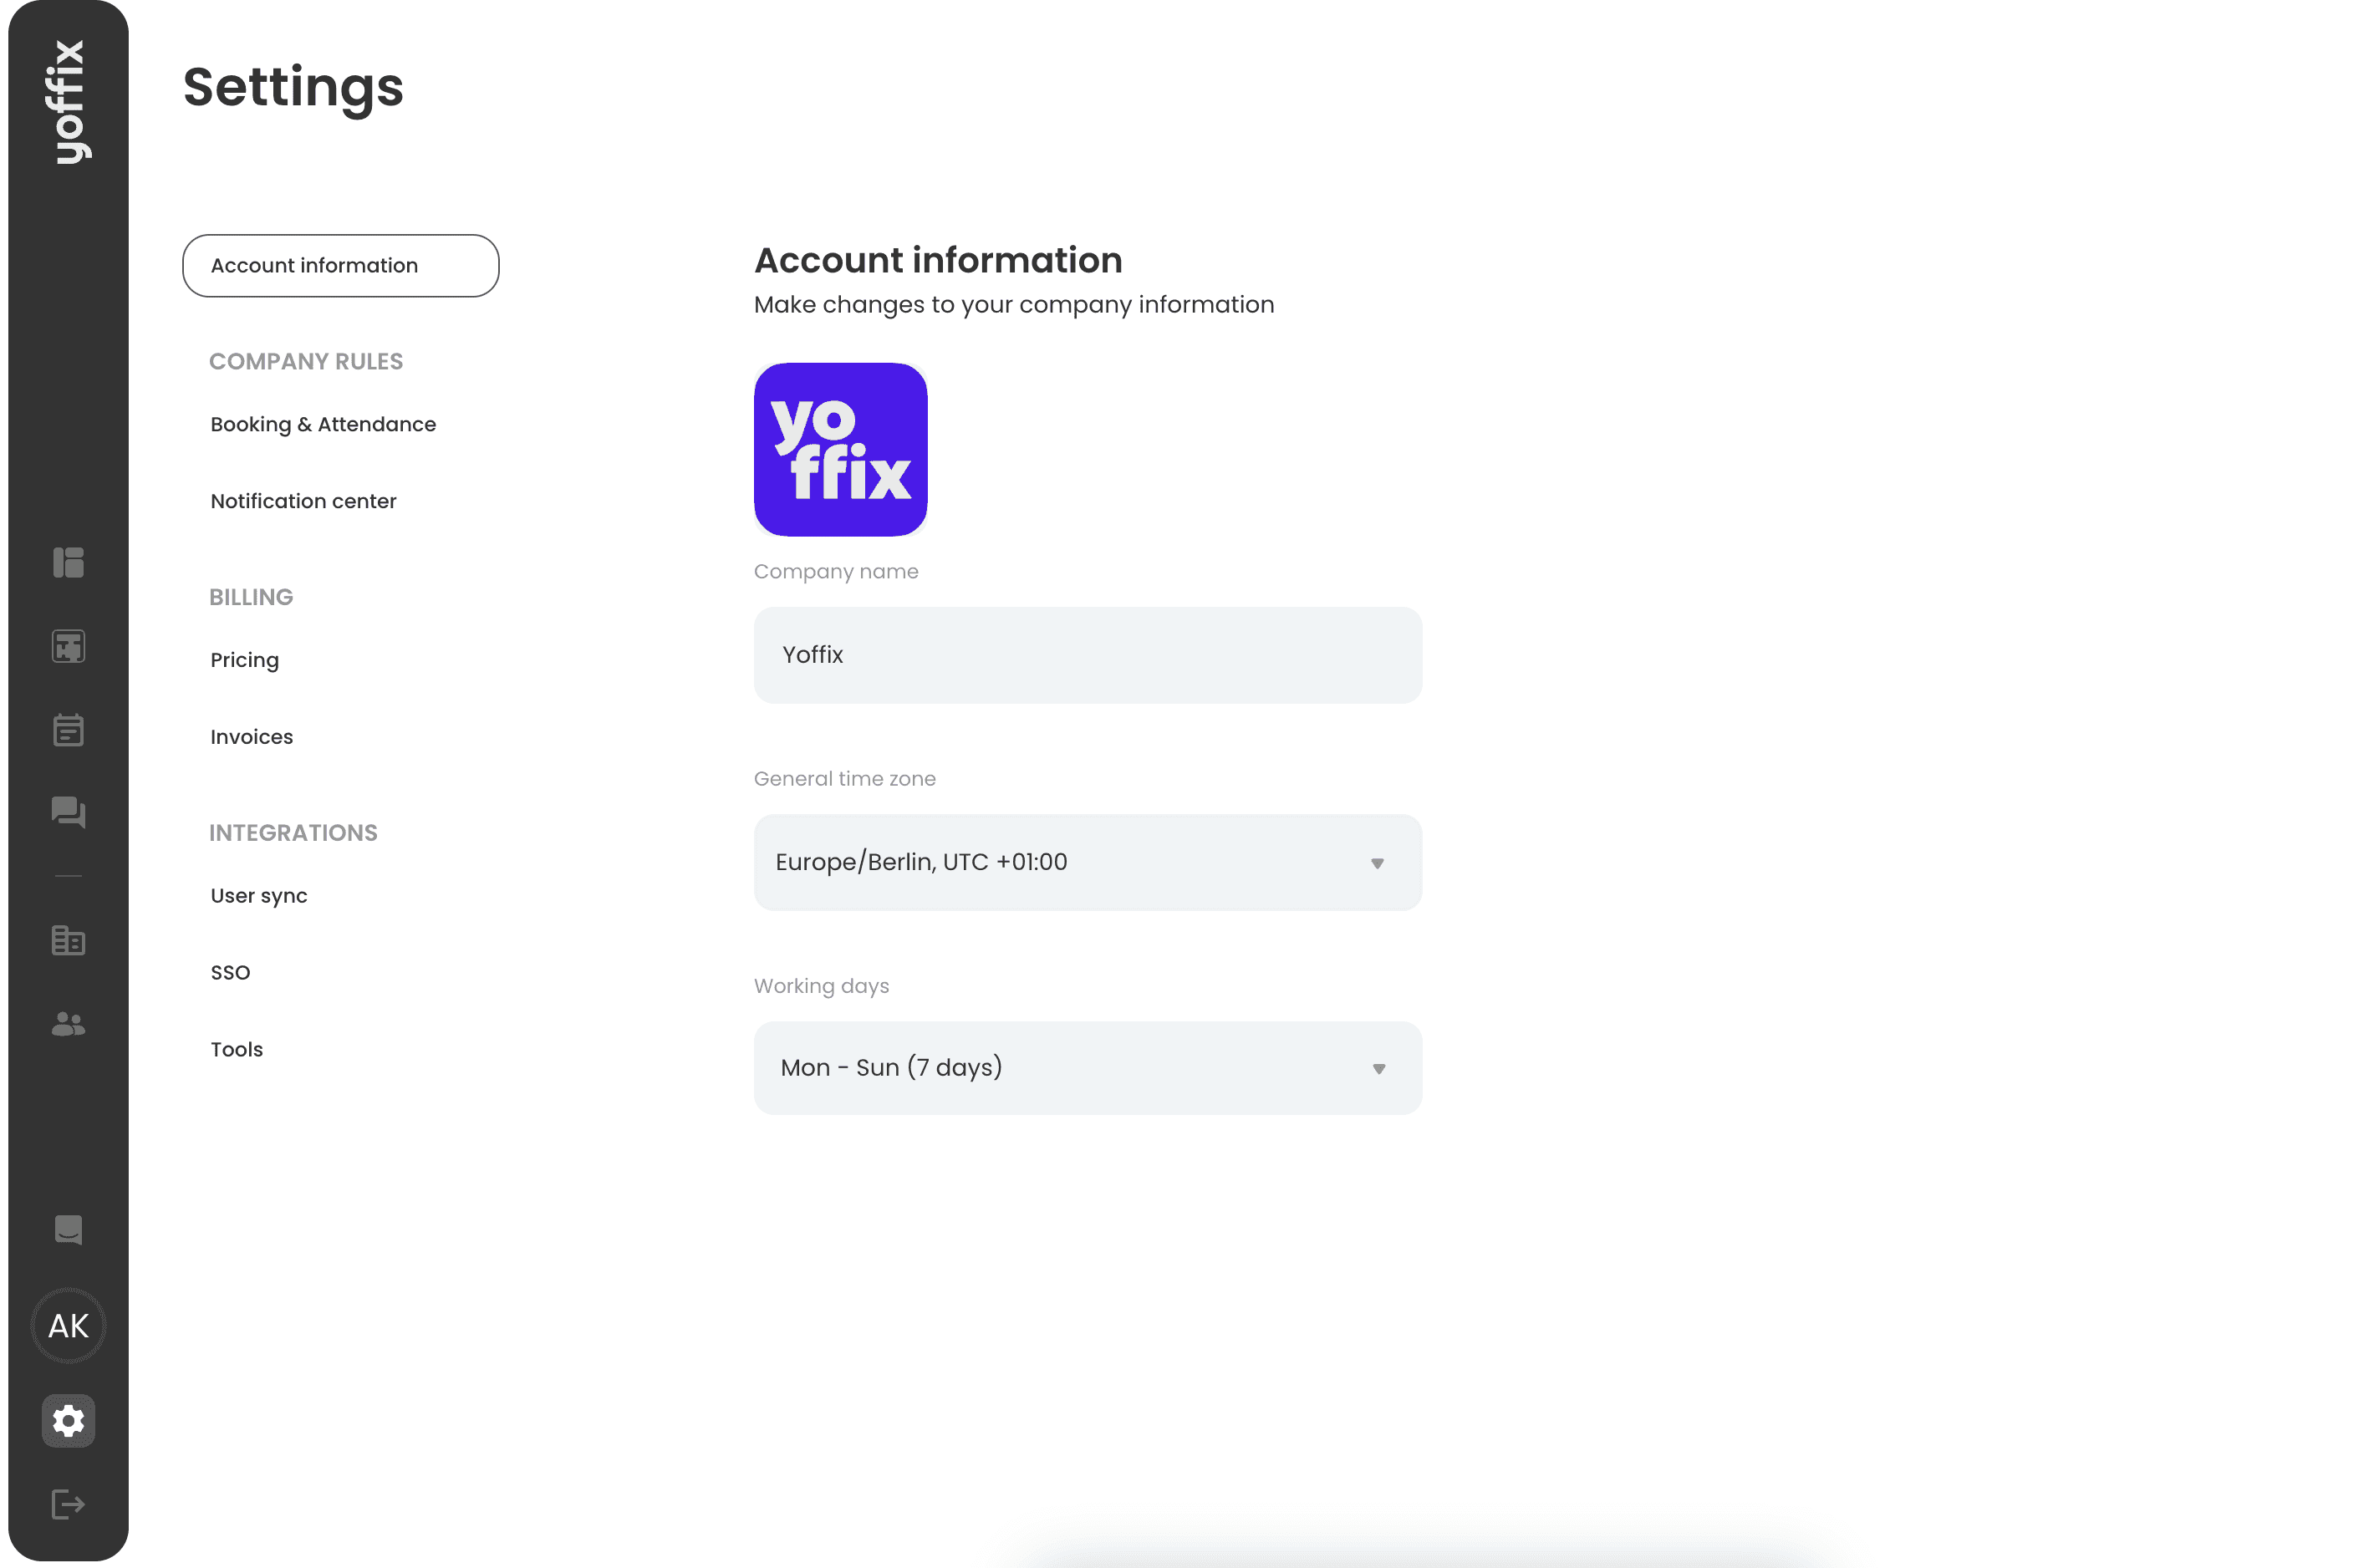
Complete company profile and settings
In the left sidebar, go to Company Settings.
Under Account information, add or update:
Company address
Company phone number
Company logo (for consistent branding across the app)
Time zone
Working days
Set booking and attendance rules
Company booking and attendance rules define how people can book the office and help you control utilization.
In Company Settings, go to Booking & Attendance.
In this section, you can set:
Booking horizon – how far in advance employees can book desks or other resources (for example X days, weeks or months).
Disallow recurring reservations over the planning horizon – If enabled, users cannot create recurring bookings that go beyond the maximum booking horizon you defined. Use this to avoid “blocking” desks or rooms for months in advance and to keep planning fair for everyone.
Working days – Select which days of the week count as working days in your organization (for example Monday–Friday). These days are used as the default base for bookings and attendance planning.
Block reservations on non‑working days – If enabled, employees cannot create bookings on days that are not marked as working days. This is useful if your offices are closed on weekends or public holidays and you want to prevent accidental reservations.
Desk availability and automatic release of unused desks – such as limiting the number of days per week employees can book a specific office or resource, if your plan or configuration supports it.
Attendance data and privacy – Attendance settings define how long attendance information is stored and support your privacy and compliance requirements.
Together, these settings let you fine‑tune how far users can plan ahead, which days can be booked, how unused seats are recycled, and how long attendance data is retained.
Set up notifications
The Notification center controls which automated messages Yoffix sends to employees and admins, and when. You can use it to manage check‑in reminders, weekly attendance overviews, and monthly reports.
Click Notification center.
Review the available notification types and toggle them on or off as needed.
Check‑in
Turn this feature on to require employees to actively confirm their reservation (for example by clicking a button or scanning a QR code). If it is disabled, bookings will not require a check‑in and will not be cancelled automatically if the user does not show up.
Platform for check‑in – Choose where employees should confirm their booking, for example directly in the web app, mobile app, or via QR code on the desk (depending on what your setup supports). This ensures users know how and where to check in.
Send the check‑in before – Define how long before the booking start time the system should send the check‑in reminder. For example, you can remind users 30 minutes or 1 hour before their reservation begins so they can confirm or cancel in time.
Cancel reservation after – Set how long after the booking start time a reservation should be automatically cancelled if the user has not checked in. This frees up unused desks and rooms so others can book them.
Disable check‑in for personal seats – Turn this on if you do not want the check‑in requirement to apply to personal seats assigned to specific employees. This is helpful if you want strict check‑in for shared desks, but a more relaxed experience for permanently assigned seats.
Next week’s attendance
These settings control the weekly email that gives users a quick overview of their upcoming office days.
Enable this to send employees a weekly summary of their planned attendance for the following week (for example which days they will be in the office or remote). This helps teams coordinate and spot gaps or overlaps early.
Day of week – Choose the day on which the weekly attendance email should be sent (for example every Friday or every Sunday). Pick a day that fits how your company plans the week ahead.
Time – Set the time of day when the attendance email should go out. This allows you to align notifications with your typical working hours and avoid off‑hour messages.
Monthly reports
Monthly reports provide admins or office managers with an overview of usage and attendance over the past month.
Monthly reports – Enable this option to send automated monthly summary reports. These can include metrics such as office occupancy, booking patterns, and attendance trends, depending on your plan and configuration.
Email for monthly reports – Enter the email address (or distribution list) that should receive the monthly report, for example facilities@company.com or workplace‑team@company.com. Use a shared inbox if multiple people are responsible for space planning.
These settings let you tailor notifications so users get just enough information to manage their bookings, while admins receive regular insights to optimize the office.